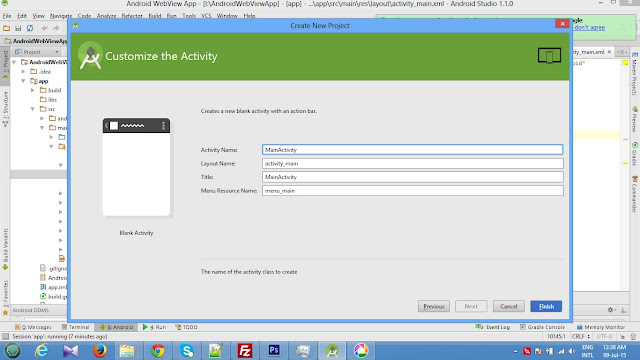
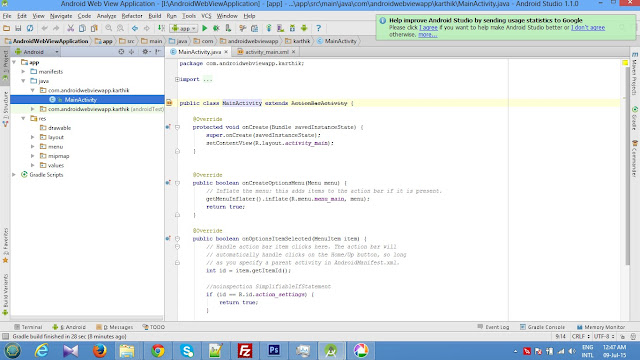
Output Screen Shots:
Example Code :
------------------
Note : Before to understand this example please go through Android 6.0 Runtime permissions tutrials below
http://ramsandroid4all.blogspot.in/2015/12/requesting-permissions-at-run-time-in.html
AndroidManifest.xml:
<?xml version="1.0" encoding="utf-8"?>
<manifest xmlns:android="http://schemas.android.com/apk/res/android"
package="com.ramsandroid.findingcurrentlocation">
<uses-permission android:name="android.permission.ACCESS_FINE_LOCATION" />
<uses-permission android:name="android.permission.ACCESS_COARSE_LOCATION"/>
<uses-permission android:name="android.permission.INTERNET"/>
<application
android:allowBackup="true"
android:icon="@mipmap/ic_launcher"
android:label="@string/app_name"
android:supportsRtl="true"
android:theme="@style/AppTheme">
<activity android:name=".MainActivity">
<intent-filter>
<action android:name="android.intent.action.MAIN" />
<category android:name="android.intent.category.LAUNCHER" />
</intent-filter>
</activity>
</application>
</manifest>
activity_main.xml:
<?xml version="1.0" encoding="utf-8"?>
<RelativeLayout xmlns:android="http://schemas.android.com/apk/res/android"
xmlns:tools="http://schemas.android.com/tools"
android:layout_width="match_parent"
android:layout_height="match_parent"
android:paddingBottom="@dimen/activity_vertical_margin"
android:paddingLeft="@dimen/activity_horizontal_margin"
android:paddingRight="@dimen/activity_horizontal_margin"
android:paddingTop="@dimen/activity_vertical_margin">
<TextView
android:id="@+id/textView"
android:layout_width="wrap_content"
android:layout_height="wrap_content"
android:layout_alignParentLeft="true"
android:layout_alignParentStart="true"
android:layout_alignParentTop="true"
android:textAppearance="?android:attr/textAppearanceLarge" />
</RelativeLayout>
MainActivity.java:
package com.ramsandroid.findingcurrentlocation;
import android.Manifest;
import android.content.Context;
import android.content.pm.PackageManager;
import android.location.Location;
import android.location.LocationManager;
import android.support.annotation.NonNull;
import android.support.v4.app.ActivityCompat;
import android.support.v7.app.AppCompatActivity;
import android.os.Bundle;
import android.widget.TextView;
public class MainActivity extends AppCompatActivity {
static final int REQUEST_LOCATION = 1;
LocationManager locationManager;
@Override
protected void onCreate(Bundle savedInstanceState) {
super.onCreate(savedInstanceState);
setContentView(R.layout.activity_main);
locationManager = (LocationManager) getSystemService(Context.LOCATION_SERVICE);
getLocation();
}
void getLocation() {
if (ActivityCompat.checkSelfPermission(this, Manifest.permission.ACCESS_FINE_LOCATION)
!= PackageManager.PERMISSION_GRANTED && ActivityCompat.checkSelfPermission
(this, Manifest.permission.ACCESS_COARSE_LOCATION) != PackageManager.PERMISSION_GRANTED) {
ActivityCompat.requestPermissions(this, new String[]{Manifest.permission.ACCESS_FINE_LOCATION}, REQUEST_LOCATION);
} else {
Location location = locationManager.getLastKnownLocation(LocationManager.NETWORK_PROVIDER);
if (location != null) {
double latti = location.getLatitude();
double longi = location.getLongitude();
((TextView) findViewById(R.id.textView)).
setText("Current Location is :" + latti + "," + longi);
} else {
((TextView) findViewById(R.id.textView)).
setText("Unable to find current location . Try again later");
}
}
}
@Override
public void onRequestPermissionsResult(int requestCode, @NonNull String[] permissions, @NonNull int[] grantResults) {
super.onRequestPermissionsResult(requestCode, permissions, grantResults);
switch (requestCode) {
case REQUEST_LOCATION:
getLocation();
break;
}
}
}


